You’ve invested in a beautifully designed pair of Eye Leux glasses, chosen for their style and perfect fit. But over time, life happens. Frames can loosen, arms can splay, and hinges can shift. Suddenly, your perfect fit starts to slip down your nose, pinch behind your ears, or sit noticeably crooked.
Before you live with the discomfort or risk damaging your frames with an impulsive fix, it's helpful to know that many common fit issues can be safely and easily adjusted at home. With a little patience and the right technique, you can restore that perfect fit.
This guide will walk you through the most common at-home adjustments for both acetate (plastic) and metal frames. We'll also cover crucial warning signs for when it’s time to put down the tools and see a professional.
The Golden Rules of At-Home Adjustment
Before you begin, commit these rules to memory:
- Work Slowly and Gently: Small, incremental adjustments are key. Never force anything.
- Use Even, Gentle Pressure: Avoid sudden, harsh movements.
- Heat for Acetate, Not for Metal: Acetate frames need warmth to become pliable. Metal frames should never be heated.
- Protect Your Lenses: Lay your glasses on a clean, soft cloth (like your Eye Leux microfiber cloth) during adjustments to prevent scratches.
- Stop If Unsure: If you feel resistance, hear a creaking sound, or are unsure of the next step, stop immediately. It’s always better to seek professional help than to cause irreversible damage.
Part 1: Adjusting Acetate (Plastic) Frames
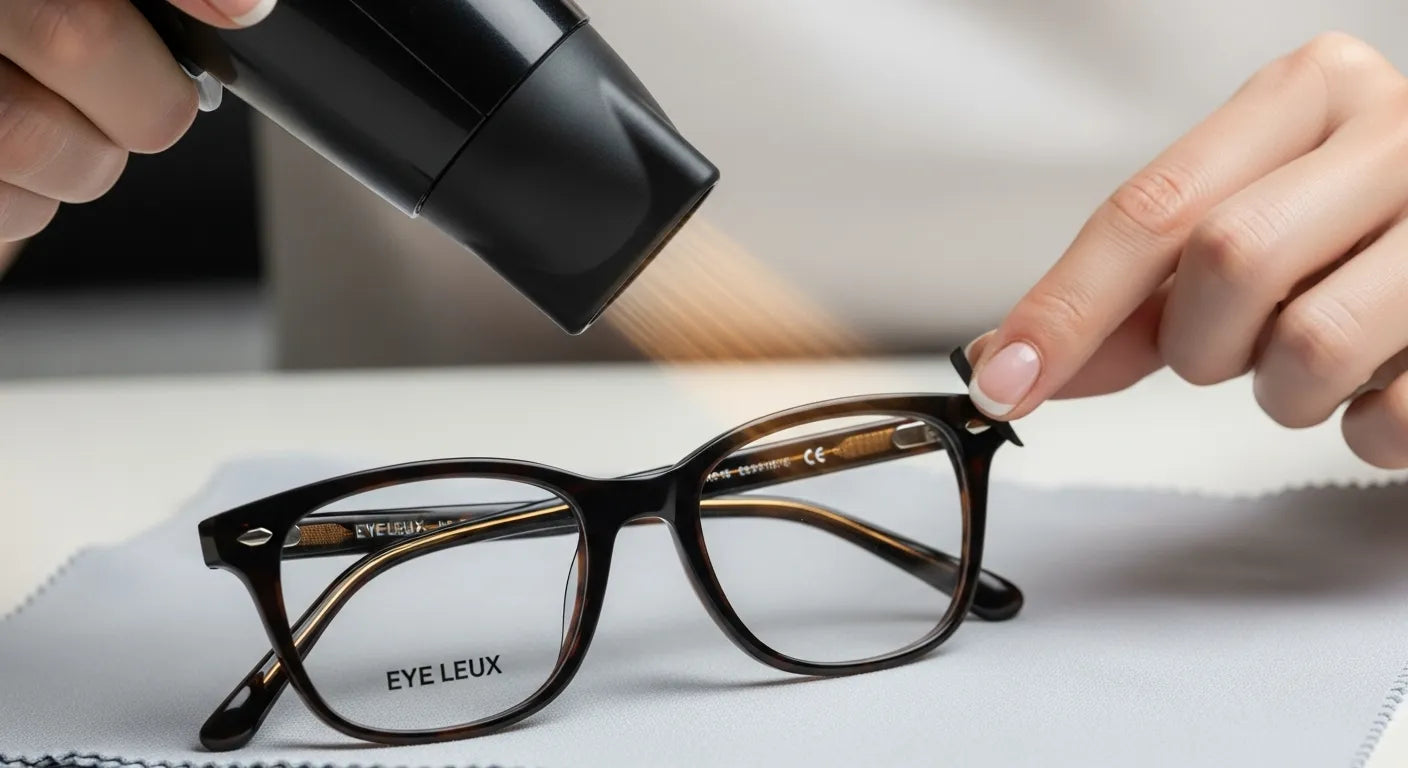
Acetate frames are made from a natural, plant-based plastic that becomes pliable when gently warmed. This is how opticians adjust them, and you can do it at home too.
The Tool: A Hairdryer You will need a hairdryer set to low heat and low speed. Never use a high setting, boiling water, or any other intense heat source, as this can melt or warp the frame permanently.
A. If Your Glasses Are Slipping Down Your Nose (Too Loose)
This usually means the temple arms are too straight or too loose behind your ears, or the nose pads are too wide.
- Identify the Bend Point: The goal is to create a gentle curve in the temple arm just behind your ear.
- Apply Heat: Hold the hairdryer about 6-8 inches away from the very tip of one temple arm (the part that curves down behind your ear). Apply heat for 15-20 seconds, moving the hairdryer slowly back and forth to distribute the warmth evenly. The plastic should feel warm to the touch, but not hot.
- Gentle Bend: Once warm, gently apply pressure with your thumb and forefinger to increase the downward curve of the temple arm. You want a snug but comfortable hook behind your ear.
- Repeat: Do the same for the other temple arm, ensuring both sides feel symmetrical.
- Test the Fit: Try them on. They should feel more secure. If they still slip, repeat the process with a tiny bit more bend.
B. If Your Glasses Are Pinching Behind Your Ears (Too Tight)
This means the temple arms are curved too tightly or are bent too far downwards.
- Identify the Bend Point: Focus on the curved tip of the temple arm.
- Apply Heat: Just as above, apply gentle, low heat for 15-20 seconds to the curved tip.
- Gentle Straighten: Once warm, gently decrease the curve, making the temple arm slightly straighter or less hooked.
- Repeat & Test: Do the same for the other side and test the fit for comfort.
C. If Your Glasses Are Sitting Crooked on Your Face
This is usually because one temple arm is sitting higher or lower than the other.
- Identify the Problem: Look in a mirror. Does one lens sit higher? Does the frame feel unbalanced?
-
Adjust the Hinge or Bend Point:
-
- If one side is higher, the temple arm on that side may need to be bent downwards more, or the opposite temple arm (the lower one) may need to be straightened slightly at the ear bend.
- Alternatively, the hinge itself might be slightly off.
-
- Apply Heat (If bending): If you're adjusting the curve of the temple arm, apply heat as described above.
- Gentle Twist/Bend: Make a small, careful adjustment to level the frame. Test constantly. This is the trickiest adjustment to get perfectly even, so proceed with extra caution.
Part 2: Adjusting Metal Frames
Metal frames are generally more delicate and less forgiving than acetate. They do not require heat and should be adjusted using gentle, precise pressure.
The Tool: Small Pliers (Optional, with extreme caution) For very minor adjustments, your fingers are often enough. For more precise bends, you can use small, plastic-coated pliers or pliers with soft jaws, but wrap the metal parts of the pliers in a soft cloth or tape to prevent scratching the frame.
A. If Your Glasses Are Slipping Down Your Nose (Too Loose)
This is most often due to the nose pads.
- Identify the Issue: Are the nose pads too far apart? Is the angle wrong?
- Adjust Nose Pads: Gently squeeze the nose pads closer together using your thumbs and forefingers. Do this slowly and check the fit. If the pads are pushing too hard on the sides of your nose, gently pull them slightly apart.
- Adjust Temple Arms: If the temple arms are too wide, very carefully apply gentle, inward pressure on the arms just before the ear bend. Be extremely cautious not to bend the hinge itself.
B. If Your Glasses Are Pinching Your Nose
- Adjust Nose Pads: Gently push the nose pads slightly further apart using your thumbs. Ensure they sit evenly on your nose.
C. If Your Glasses Are Sitting Crooked
Similar to acetate, this means one side is higher or lower.
- Inspect Hinges/Arms: Carefully check if one hinge is bent, or if one temple arm is splayed out more than the other.
- Gentle Bend: With extreme caution, use your fingers to gently, incrementally bend the temple arm that is causing the problem. If one side is higher, gently bend the temple arm downward at the hinge or ear bend. If one side is too low, gently bend it upward.
When to Seek Professional Help
While many minor adjustments are DIY-friendly, there are times when an expert touch is essential.
You should always visit a qualified optician if:
- You feel resistance or hear creaking during adjustment. This is a warning sign that the frame material is under too much stress.
- A hinge is broken, bent, or visibly loose. Hinges are complex components that require specialized tools for repair or replacement.
- The frame is severely twisted or warped. Major reshaping is best left to a professional, especially for delicate metal frames.
- The lenses keep popping out. This indicates an issue with the frame's integrity around the lens groove.
- You simply feel uncomfortable or unsure. Don't risk damaging your Eye Leux frames. An optician has the proper tools, training, and experience to make precise adjustments safely. Many opticians offer minor adjustments for free or a small fee, even if you didn't buy the glasses from them.
Taking the time to gently adjust your glasses at home can make a huge difference in their comfort and your vision. But knowing your limits is key. With a little care, your Eye Leux glasses will continue to provide perfect clarity and style for years to come.


